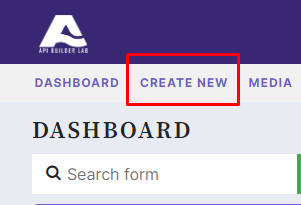
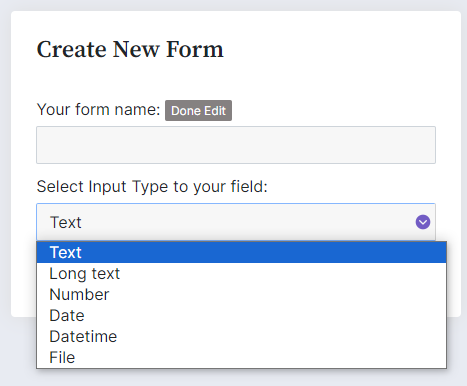
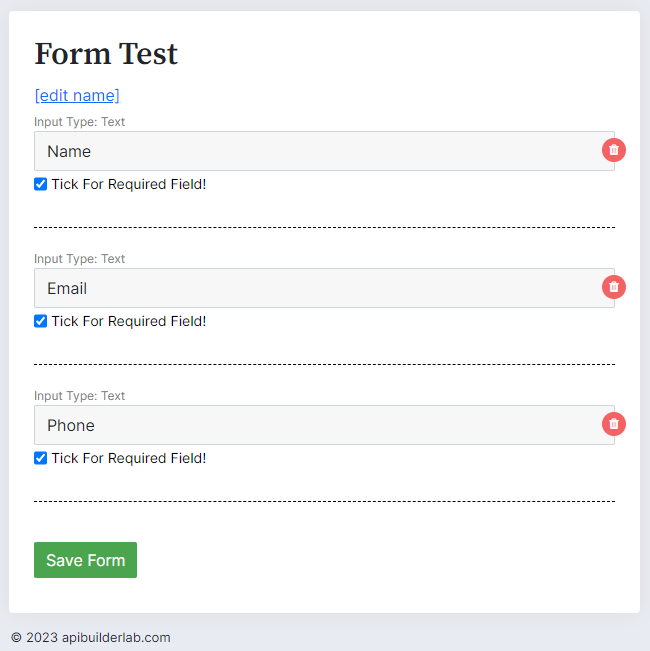
Open menu "Create New" on dashboard. Then fill the name of the form, arrange the field and then save the form.Let say you create form lead, below the example.


To start using the API to post data from the Form, genenerate API Key first.

To control api key, see below

To start embed form to your page directly just download the form from dashboard. Then unzip & open the file. Then copy all code to your page.

If you don't have specific field like date or datetime or file, just copy only wraping form to your page or WordPress page. Please note redirectUrl value can be change to your own thank you page or just use default thank you page by our site.

If you have specific field like date or datetime or file, beside copy wraping form above, you need to copy styling & additional js. This will help you formated your date or datetime or file field. So when you POST data, to our system receive format correctly. If not you will get error messages.

and

To INSERT your data with API you need API URL that you generated from dashboard. Below is the format
https://app.apibuilderlab.com/api/sendreq/{idbase}
and also need sending data with format JSON with POST method. You can control this, if you allowed insert API or not. You can set or manage through your dashboard.
Step to insert data with API.
1. Set Header with x-access-token and the value you can generate from dashboard.

2. Body format with JSON.
If we generate JSON from above Test form, it will look like below:
{"name_aka_124720769": "value"}Using retrieve data API, basically the idbase is the same with insert id. The different is in the path url. But before to use it, you need to "allow Fetching Data" first from your dashboard. This is important if you allowed to view data through your API.

Below are the list API to retrieve data
Please remember, to start using the API, you need to set the Header with x-token-access (the VALUE can be generate from dashboard).
1. Retrieve data with paging ( Method GET )
https://app.apibuilderlab.com/api/getreq/{idbase}/paging?page={page}&size={size}https://app.apibuilderlab.com/api/getreq/{idbase}/details?id={idrecord}To using search data, you must set specific body. Let say from example above, you need search data @value on name_aka_124720769. So you declare the body like this.
1. Search data ( Method POST )
Below the path API search.
https://app.apibuilderlab.com/api/searchreq/{idbase}
{
    "name_aka_124720769": "@value"
}
So, the application will find the @value under name field.
Workflow is use for custom email to customer. So you can build your email to send to customer base on field filter or action that you setup.
To start using workflow you must subscribe as STARTER OR PRO. On the form that you build at least you have 1 email field on your form. If not you cannot use workflow.

Set rules as you want then add action email OR you can directly add action email if you wish to send customer custom email once they submit your form.

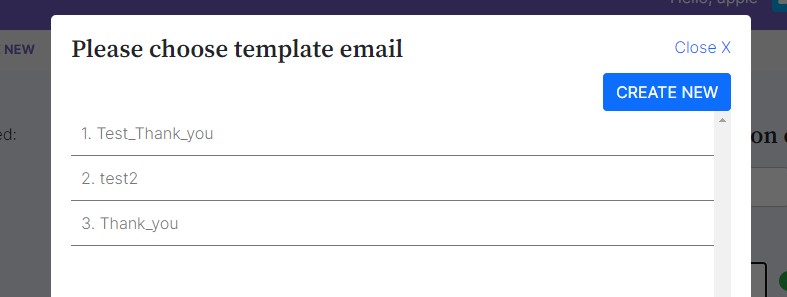
Below is email action.

If you don't have template email yet, please create your own template.


Before using the wordpress shortcode inside of your Wordpress page, please install the Api Builder Lab WP Shortcode first. Download Here

Basic format shortcode:
[abl_shortcode id="{idform}" key="{apikey}"]